{{goods.model}}


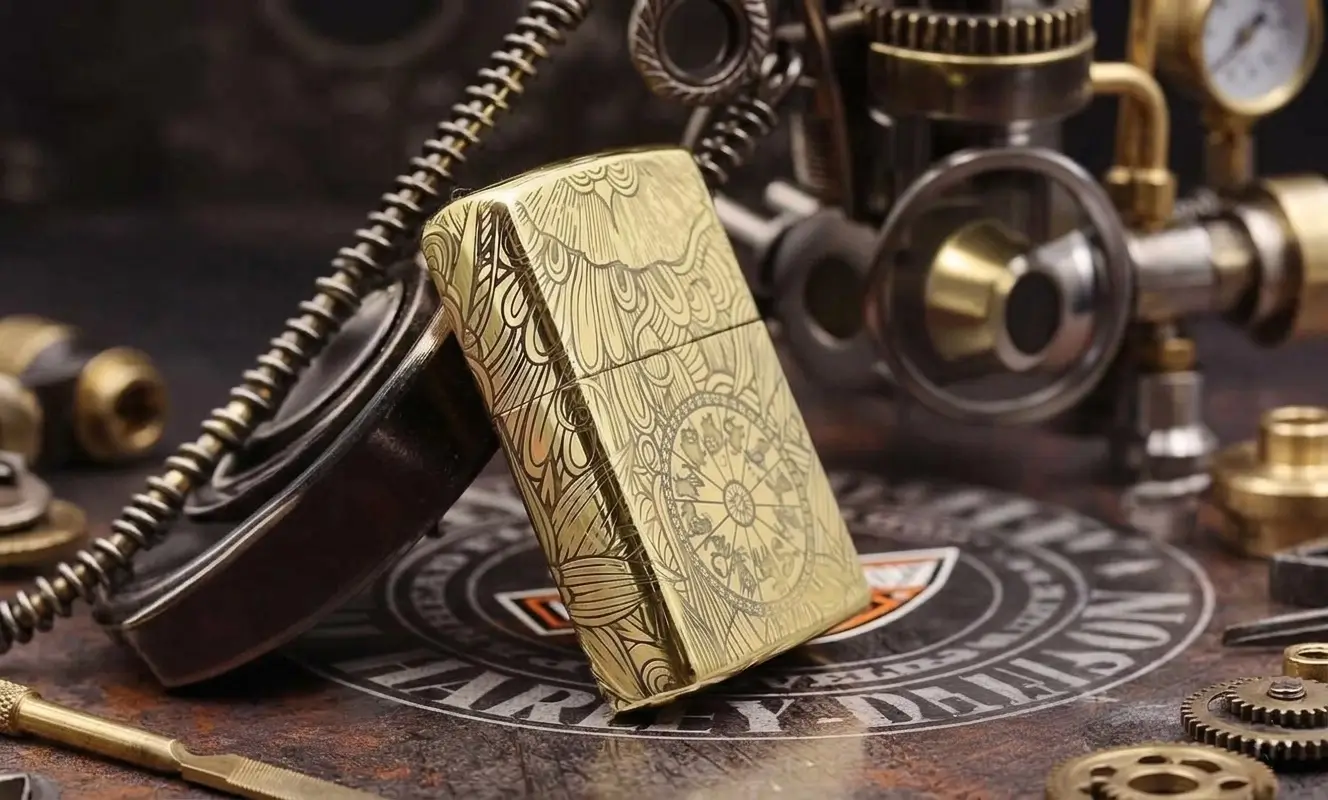
Using a Laser Marking Machine to Mark Lighters
In the field of high-end lighter customization, laser marking has become a mainstream choice. This article will guide you through the process of using a fiber laser marking machine for personalized marking on lighters.
Related models


Marking personalized patterns on lighters can transform this ordinary tool into an exclusive item with emotional and social value. It serves not only as a declaration of personal style—showcasing the owner's taste and identity through unique designs, names, or symbols, but also as a carrier of emotions, capable of engraving important dates, commemorative texts, or images, making it an ideal gift and a keepsake of memories. Additionally, exquisite patterns significantly enhance the product's artistic and collectible value, meeting the demands of the gifting market. At the corporate level, customized patterns also serve as an effective means of brand extension, strengthening community identity among users and fostering emotional connections with the brand. This micro-engraving essentially represents the creation of personalized value by integrating practicality, emotion, and aesthetics.
Main Marking Processes for Lighters of Different Materials
The selection of personalized marking processes for lighters depends on their material properties, with two core categories: plastic and metal.
Plastic Lighters
Personalized processing of plastic lighters mainly relies on printing techniques, with two key methods:
Pad Printing: Transfers patterns to irregular curved surfaces via a silicone head, with the advantage of adapting to complex product surfaces.
Screen Printing: More suitable for flat or simple curved surfaces, it excels at presenting patterns with distinct color blocks and has relatively lower costs.
Metal Lighters
High-end lighters are mostly made of metal materials such as stainless steel, copper, and zinc alloy. Their personalized processing focuses on "permanence and high texture," with mainstream techniques including etching, stamping, and engraving—all capable of creating patterns, textures, and texts with a 3D tactile feel on the lighter’s metal casing. These processes not only ensure the durability and permanence of the personalized marks but also enhance the product’s texture, added value, and anti-slip performance.
With the development of technology, the application scenarios of various processes have also changed:
Gradually Obsolete Processes: Stamping requires custom-made dedicated molds, has low precision, and is only suitable for large-batch, low-precision needs. Chemical etching involves complex operations, causes high pollution, and results in rough engraved surfaces, leading to a significant reduction in its application.
Mainstream Preferred Process: Except for scenarios requiring large amounts of material removal, laser processing has become the current mainstream. It requires no physical contact or molds, enabling ultra-high-precision complex patterns. It is free of chemical pollution, ensuring environmental protection and safety. It also offers extremely high processing flexibility—patterns can be quickly switched via software, making it especially suitable for small-batch customization needs. Additionally, laser marking is a permanent identifier, resistant to wear, and causes no stress damage to the workpiece.
Marking Process
Equipment Preparation
Laser Marking Machine: For marking metal lighters, a fiber laser marking machine is typically used. This type of machine emits laser light with a wavelength of 1.06 micrometers, which falls within the near-infrared spectrum. This wavelength offers high metal absorption and a small heat-affected zone (HAZ). Depending on your processing scenario and requirements, you can choose from various form factors like cabinet-type, desktop, or enclosed models. For batch production, consider an on-the-fly fiber laser marking machine or one equipped with a conveyor belt.
PC: A fiber laser marking machine typically requires connection to a computer. The computer software is used to set the marking pattern, configure marking parameters, and control the marking process.
Marking Software: You need to install marking software compatible with your machine. This software is used to import artwork, set parameters, and generate the marking path instructions.
Digital Artwork: Prepare vector files (e.g., AI, DXF, PLT) or bitmap files (e.g., BMP, JPG). These files are the source of the marking content.
Safety Protection: Laser safety glasses and protective covers are essential to ensure operational safety.
Marking Steps
Design Marking Content
Use professional software (e.g., CorelDRAW, AutoCAD) to create vector files (.ai, .dxf, .plt, etc.) to ensure smooth, anti-aliased marking edges. If the marking content includes serial numbers or QR codes, use the "Variable Text" or "Serial Number" function within the marking software.
Import and Layout
Import the designed artwork into the dedicated marking software (e.g., EZCad2).
Adjust the pattern's size, position, and angle in the software to perfectly align with the marking area on the lighter.

Equipment Startup and Adjustment
Clear the work area, ensuring no flammable or explosive materials (e.g., alcohol, gasoline) are present.
Check that connections for the laser source, galvanometer scanner, and cooling system are normal. Power on the machine only after confirmation and remove the lens protective cover.
Workpiece Positioning and Fixturing:
This is a crucial step. Use dedicated fixtures to accurately and stably secure the lighter to the worktable. For curved lighters, a rotary axis may be needed for circumferential marking.
Click the "Light" button or press F1 in the software to activate the red light indicator. The laser head will emit a visible red light, showing the intended marking area. Check if the laser scan path and range exactly match the expected position and adjust the workpiece if necessary.


Focal Length Calibration:
Perform focal length calibration to ensure the lighter's marking plane is parallel to the laser beam's focal plane and at the correct height.
Use the red light alignment or a manual height gauge to ensure the laser focus falls on the lighter surface. Deviation from the focal plane will cause blurry, unclear marks.
The red light positioning system assists with focal length judgment based on the distance between two red dots. Operation method: Press the button on the laser head to activate the red light positioning. The laser head will emit two beams of visible red light, appearing as two red dots on the target object. When the two dots coincide, the laser is focused on the object. If the red dots do not overlap, adjust the laser head height using the crank until they coincide.


Parameter Setting:
Based on the lighter material (e.g., stainless steel, copper, zinc alloy) and the desired effect (e.g., deep black, light gray, or engraved indentations), set key laser parameters:
Power: Affects marking depth and color.
Speed: Affects processing efficiency and laser interaction time.
Frequency: Affects marking fineness and contrast.
Parameter testing is recommended for initial setups to find the optimal combination.
Marking Execution:
After completing the above steps, marking is straightforward. Click the "Mark" button in the software, press F2, or use the foot switch. The laser marking machine will then begin automatic marking.
During marking, wear laser safety glasses. Although the fiber laser is invisible, reflected light can still cause permanent eye damage.
If the equipment has a protective cover, close it before starting the marking process.

Note: This example procedure uses EZCad2 software for illustration.
Other Projects
Using a Laser Marking Machine to Mark Lighters
In the field of high-end lighter customization, laser marking has become a mainstream choice. This article will guide you through the process of using a fiber laser marking machine for personalized marking on lighters.
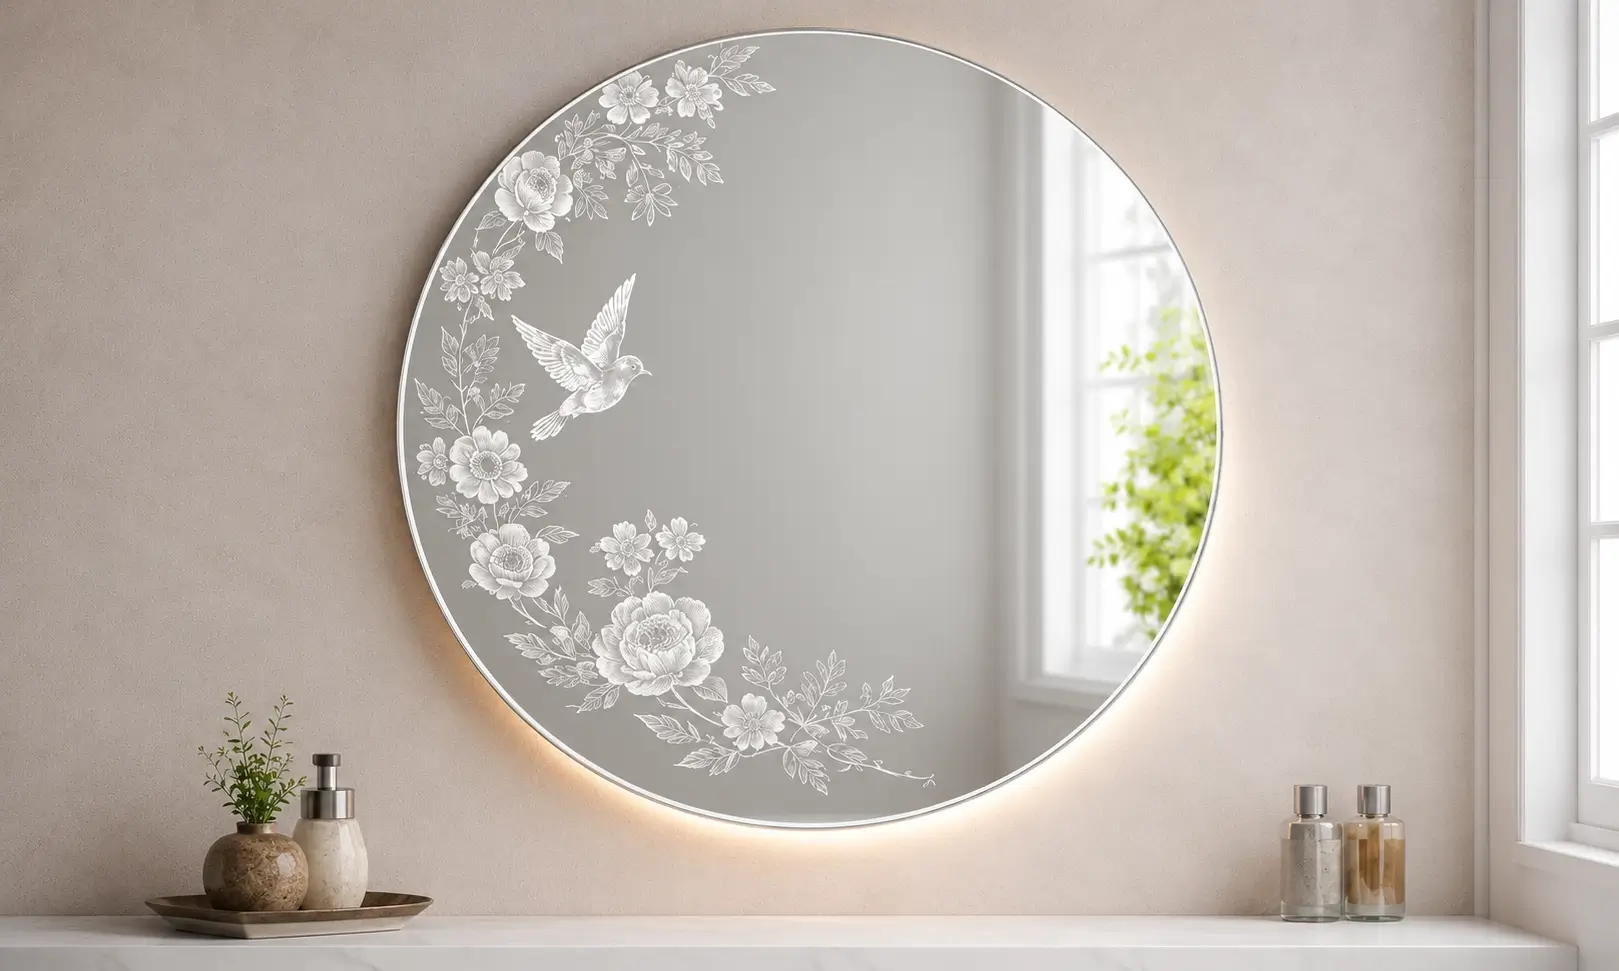
Fiber Laser Mirror Etching Machine Project for Smart Mirror Manufacturing
This project focuses on the application of a fiber laser marking machine in LED smart mirror manufacturing. By replacing traditional processing methods, the solution enables precise mirror paint removal, high-quality engraving, and consistent surface finishing. The system improves production efficiency, reduces defects, and helps manufacturers achieve premium mirror designs with stable and repeatable results.
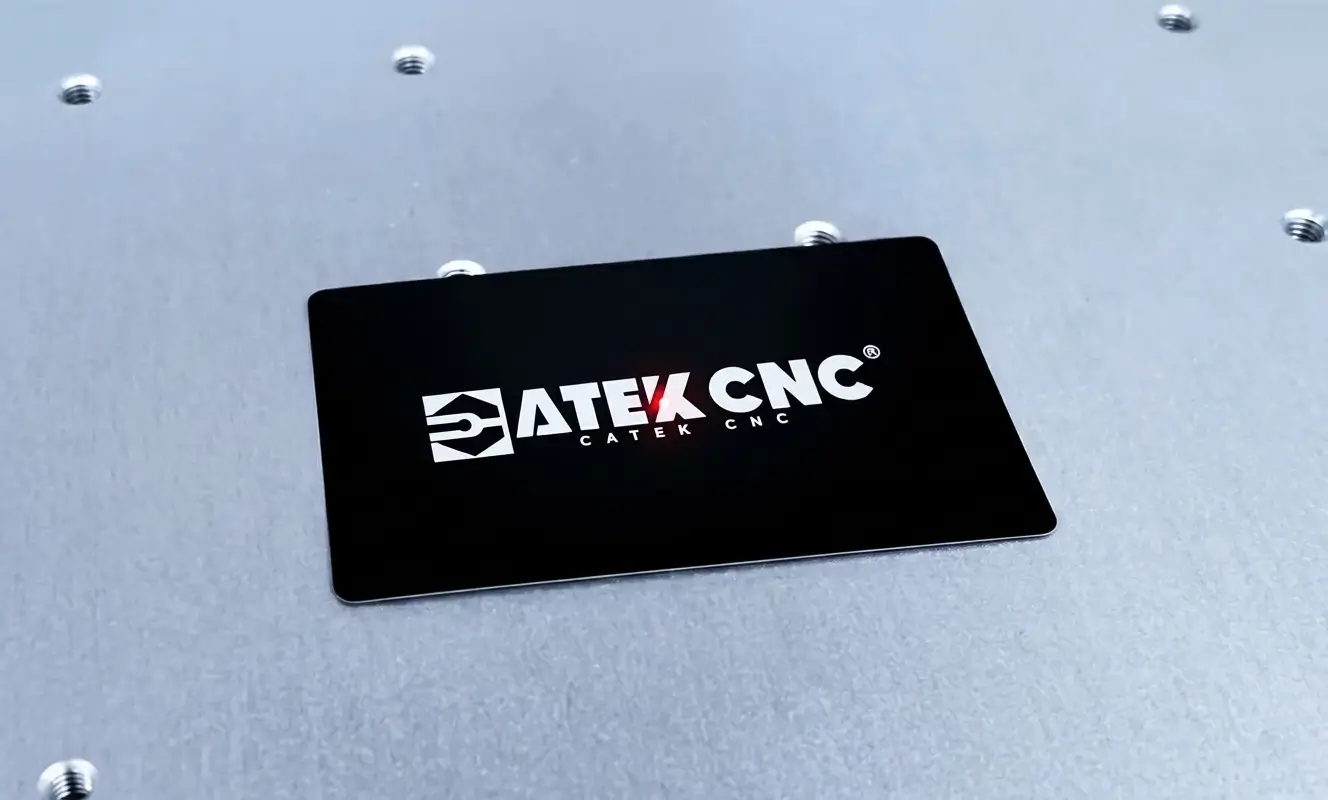
Metal Nameplate Marking Project Using Enclosed Fiber Laser Marking Machine
This metal nameplate marking project focuses on producing clear, permanent, and high-contrast markings on industrial metal nameplates. The customer required a reliable solution for marking logos, serial numbers, and technical information on metal plates used in machinery and electrical equipment.To meet these requirements, an enclosed fiber laser marking machine was selected. Compared with traditional marking methods, fiber laser technology offers higher precision, better consistency, and long-t...